Custom skins in Minecraft enable players to customize their in-game characters, expressing their own individuality and creativeness. As of the year 2025, the process has become efficient with the help of sophisticated tools and resources. This detailed guide will take you through the process to create custom skins in Minecraft efficiently, with a hassle-free and enjoyable experience.
Understanding Minecraft Skins
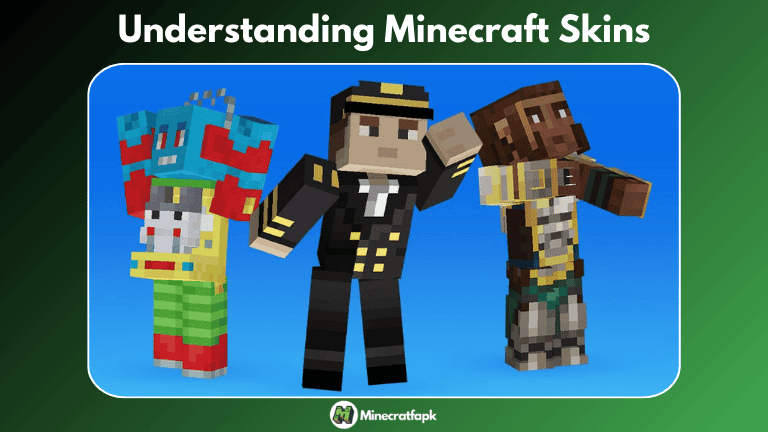
A Minecraft skin is a 2D image file that wraps around your character’s 3D model to define its appearance in the Minecraft game. A skin consists of different sections that correspond to different parts of the body, including the head, torso, arms, and legs. You can design a personalized look for your character by modifying these sections.
Selecting the Appropriate Skin Editor
In order to develop custom skins in an efficient manner, proper tools need to be chosen. Some of the most popular ones include:
Online Skin Editors:
SkinMC: A simple online editor that lets you design and customize skins right from your browser. It has support for both Steve and Alex models and features such as pen tool, color palette, and the option to import a base skin and modify it.
Desktop Applications:
Minecraft Skin Editor: A specialized application that provides professional-level editing capabilities, such as layers, shading tools, and live 3D previews. Best suited for users who want more freedom to customize their designs.
Mobile Apps:
Skinseed: A smartphone app downloadable on iOS and Android platforms that allows for skin creation on the move. It offers an easy-to-use interface with a number of editing features and a community gallery for reference.
Designing Your Custom Skin
To create your own custom Minecraft skin, follow these steps:
Conceptualize Your Design:
Choose the theme or character you wish to have. Be it a superhero, an animal, or a peculiar abstract concept, having a distinct idea will steer your design process.
Select a Base Model:
Minecraft has two base models. Select the model most suited to your design idea.
- Steve: Has wider arms.
- Alex: Has thinner arms.
Begin with a Template:
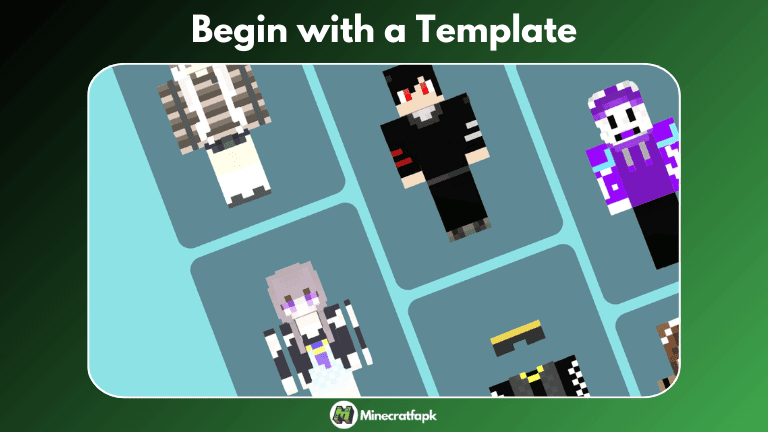
Use blank skin templates as a base. These templates map out the various components of the character model, so you know where each area of your design will be rendered in-game.
Use Layers:
Most editors allow layering, which lets you isolate various aspects of your design (e.g., clothing, accessories). This structure makes it easier to edit and allows for more precise customization.
Use Shading and Highlights:
Include shading to give depth and realism to your skin. Shading should include darker tones to represent shadows and lighter colors to represent highlights, particularly along edges and creases in clothes.
Add Fine Details:
Detail your design with intricate details such as facial expressions, patterns, or textures. Being keen on little things can largely enhance the entire look of your skin.
Preview Your Skin:
Use the 3D preview function in your editor regularly to observe what your skin will look like from various directions. This guarantees that every piece of your design will be properly aligned and look as desired.
Save and Export:
When content with your design, save your skin in the proper format (typically PNG). Verify that the file size is proper (64×64 pixels for normal skins or 64×32 pixels for old versions).
Using Your Personalized Skin in Minecraft
To use your custom skin within the game, perform the following steps:
For Minecraft Java Edition:
- Go to the official Minecraft site and access your account.
- Head to the “Profile” tab.
- Click on “Browse” and choose your saved skin file.
- Upload the skin and wait for the success message.
- Launch Minecraft, and your character will show the new skin.
For Minecraft Bedrock Edition:
- Launch Minecraft and navigate to the “Dressing Room” or “Profile” page.
- Tap “Edit Character” and then the “Owned” or “Import” button.
- Tap “Choose New Skin” and find your saved skin file.
- Modify the model type if asked (e.g., “Slim” or “Classic”).
- Apply the skin, and it will show up on your character.
Tips for Effective Skin Creation
Plan Your Design: Draw out your concepts on paper or with digital drawing programs prior to creating the actual skin.
Use References: Take a look at existing skins or character designs for inspiration.
Keep It Simple: Begin with simple designs and add details later to avoid being overwhelmed.
Use Layers: Working with layers makes stacked editing and easy adjustments possible.
Test In-Game: After applying your skin, explore the game to see how it looks in different environments and lighting conditions.
Advanced Techniques
For those looking to enhance their skins further:
Shading and Highlights: Add depth by incorporating shading and highlights, giving your character a more three-dimensional appearance.
Textures and Patterns: Introduce textures like fabric weaves or armor plating to add realism.
Transparency: Use transparent pixels for effects like glasses or veils.
Custom Models: Certain higher-end editors support minor adjustments to the character model, allowing features such as 3D accessories.
Best Practices for Streamlined Skin Creation
To make your skin creation more efficient, consider the following practices:
Use Reference Images:
Reference images can be used to lead your design, providing accuracy and consistency, particularly when recreating a pre-existing character or theme.
Leverage Community Resources:
Explore community galleries and forums for inspiration and tutorials. Platforms like The Skindex and Planet Minecraft offer extensive collections of user-generated skins.
Practice Regularly:
Like any creative endeavor, regular practice enhances your skills. Experiment with different styles and techniques to discover what works best for you.
Stay Updated:
Stay updated with Minecraft updates that may impact skin compatibility with new features. This helps keep your skins active and updated.
Backup Your Work:
Have backups of your skin files in case of loss from unexpected problems. Store them in folders for convenient access and maintenance.
Troubleshooting Common Issues
Skin Not Displaying: Make sure you’re uploading the right file type (PNG) and that it’s correctly uploaded in your profile settings.
Distorted Appearance: Double-check the alignment of your design, particularly around edges where various body parts meet.
In-Game Lag: Very detailed skins may result in performance problems on lower-end computers. Streamline the design if needed.
Conclusion
Designing custom skins in Minecraft is a satisfying activity that adds an extra touch to your gaming experience by providing you with a means to express yourself. By taking these steps from choosing a proper skin editor to implementing your look in-game, you can effectively create a one-of-a-kind avatar that is the envy of the Minecraft world. Don’t forget to try out advanced methods such as shading and texturing to give your creations depth. Enjoy the process, and don’t be afraid to share with the rest of the Minecraft world.
Yes, you can update your Minecraft skin as frequently as you wish. Just upload a new skin file in the standard process for your game version.
Although Minecraft grants extensive customizing freedom, it’s best to avoid designs that are offensive or violate copyright laws. Always be mindful of community guidelines and legal factors when creating and distributing skins.
Most platforms, such as Java and Bedrock Editions, support custom skins. While most platforms use similar methods of applying skins, different platforms will have different ways to do this. Check a particular guide based on your platform.
You may use any of the compatible skin editors to develop skins and later upload them through the Dressing Room or Profile tab in Bedrock Edition. Be sure the skin format and dimensions match those of Bedrock.
Discrepancies may arise as a result of lighting, game options, or mistakes during skin creation. Check your design alignment twice and playtest the skin to spot and fix any discrepancies.
You may share your custom skins by posting them to community sites or simply sharing the PNG files. Be sure that you are permitted to distribute all components used in your design.